I used to spend 20 hours on a single long-form video. Scripting took eight hours, filming and B-roll two hours, and editing ten hours. Now I routinely produce better videos in about four hours and publish 2–3 times per week. The secret is a repeatable AI-powered process that speeds up every stage: scripting, b-roll, shooting, editing, thumbnails, publishing, and post-publish optimization.
Workflow Overview: Four Hours from Idea to Ready
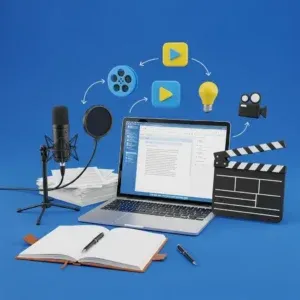
The approach breaks the work into clear steps and automates parts that used to become time sinks. Here is the high-level flow I follow every time:
- Script generation and editing
- B-roll creation and modification
- Filming in short sections from a script
- Delegated editing with clear notes
- Thumbnail research and design instructions
- Publishing, optimization, and immediate post-publish engagement
1. Script Faster with AI Templates and Voice Memory
Writing a full script word for word was the biggest time drain. Instead of starting from a blank page, I use an AI tool that combines three things: viral script templates, my past content to learn my style, and reference videos for context. I record raw ideas as short audio notes and let the tool transcribe them. Then I generate a draft using a high-quality model and spend 3–4 hours editing, fact checking, and adding screen-record notes for the editor. That process cuts scripting time from 8–12 hours to about 4 hours total.
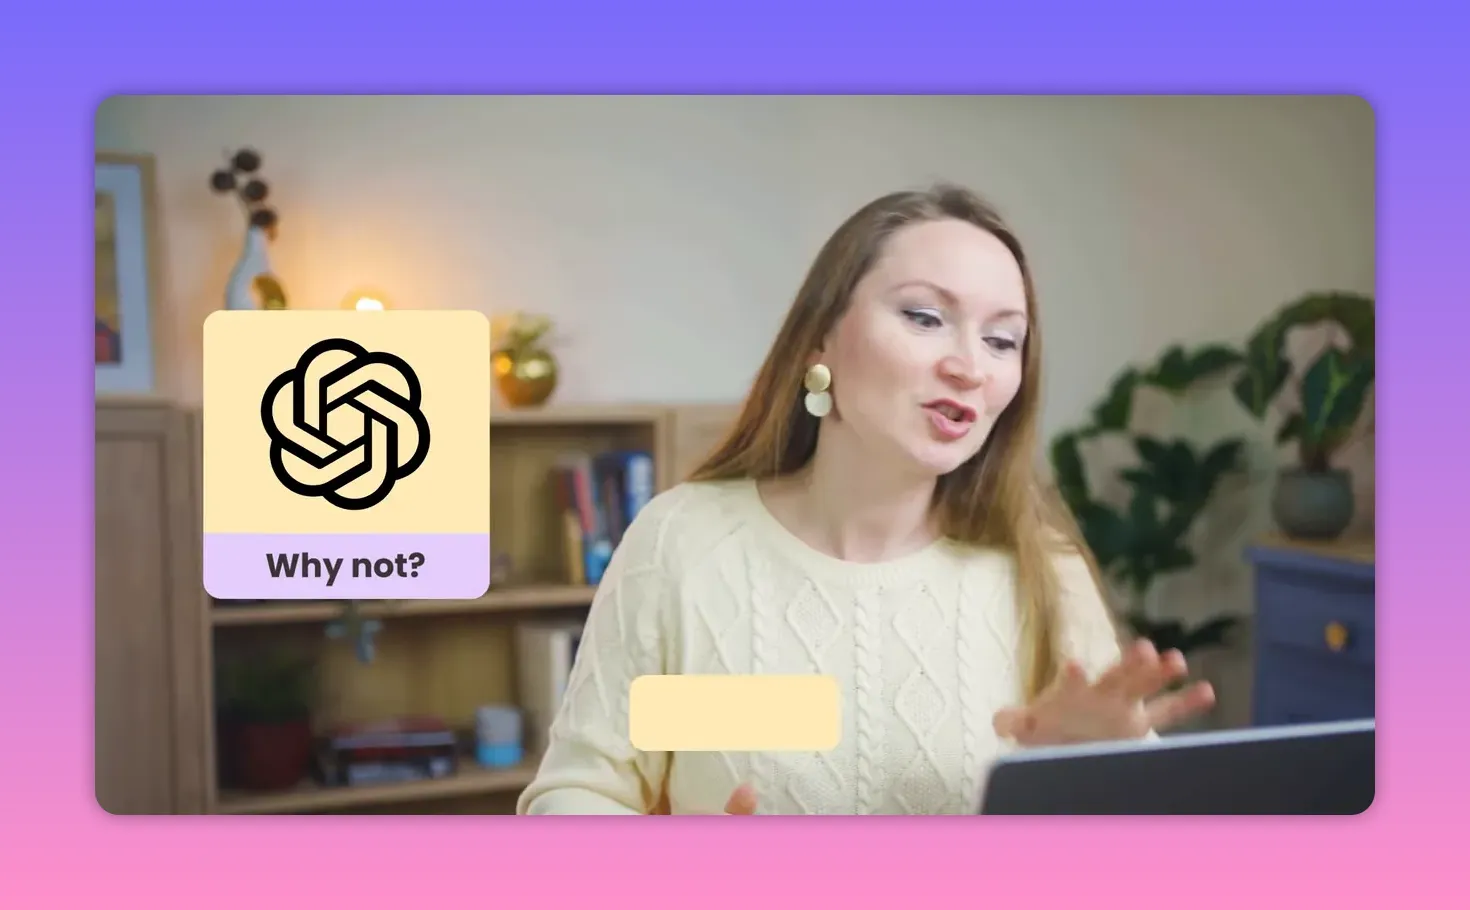
Why this works: templates give structure, style transfer makes the script sound like me, and audio notes capture the natural voice faster than writing. The goal is not to publish the draft as-is. It is to create a near-finished script that only needs a focused human pass.
2. Replace expensive, slow B-roll with Directed AI
B-roll used to be either expensive stock footage or hours of filming. Now I use an AI video tool that lets me direct what changes in a clip while preserving character identity, composition, and continuity. I start in draft mode for speed and cost savings, then modify specific elements (for example, making a baby remain still or changing lighting) and finally upscale to Hi‑Fi 4K.
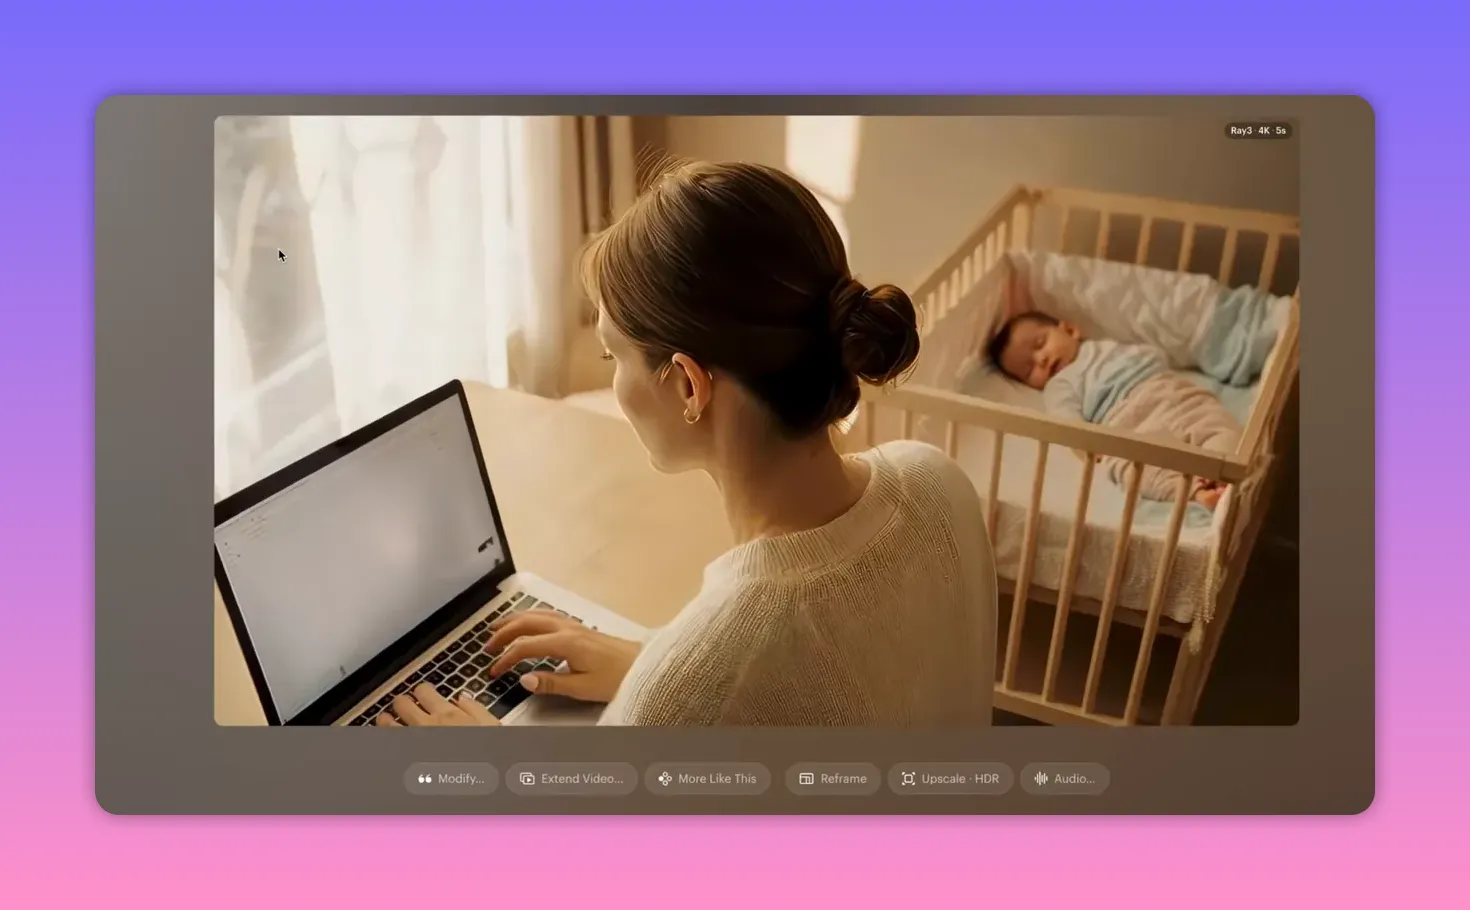
Practical tip: use draft renders to iterate rapidly. Only upscale the final clip you plan to use. Directed modification means I can request precise fixes instead of hoping a generative tool guesses correctly.
3. Film Quickly from a Bullet-Point Script

When it is time to record, I film in short sections following clear bullet points instead of reading a word-for-word script. That reduces filming time from about two hours to 20–30 minutes. My on-camera kit is simple: camera, a good mic, and basic lighting. Audio quality matters far more than having the latest camera, so if you are starting, use your phone and a solid external microphone.
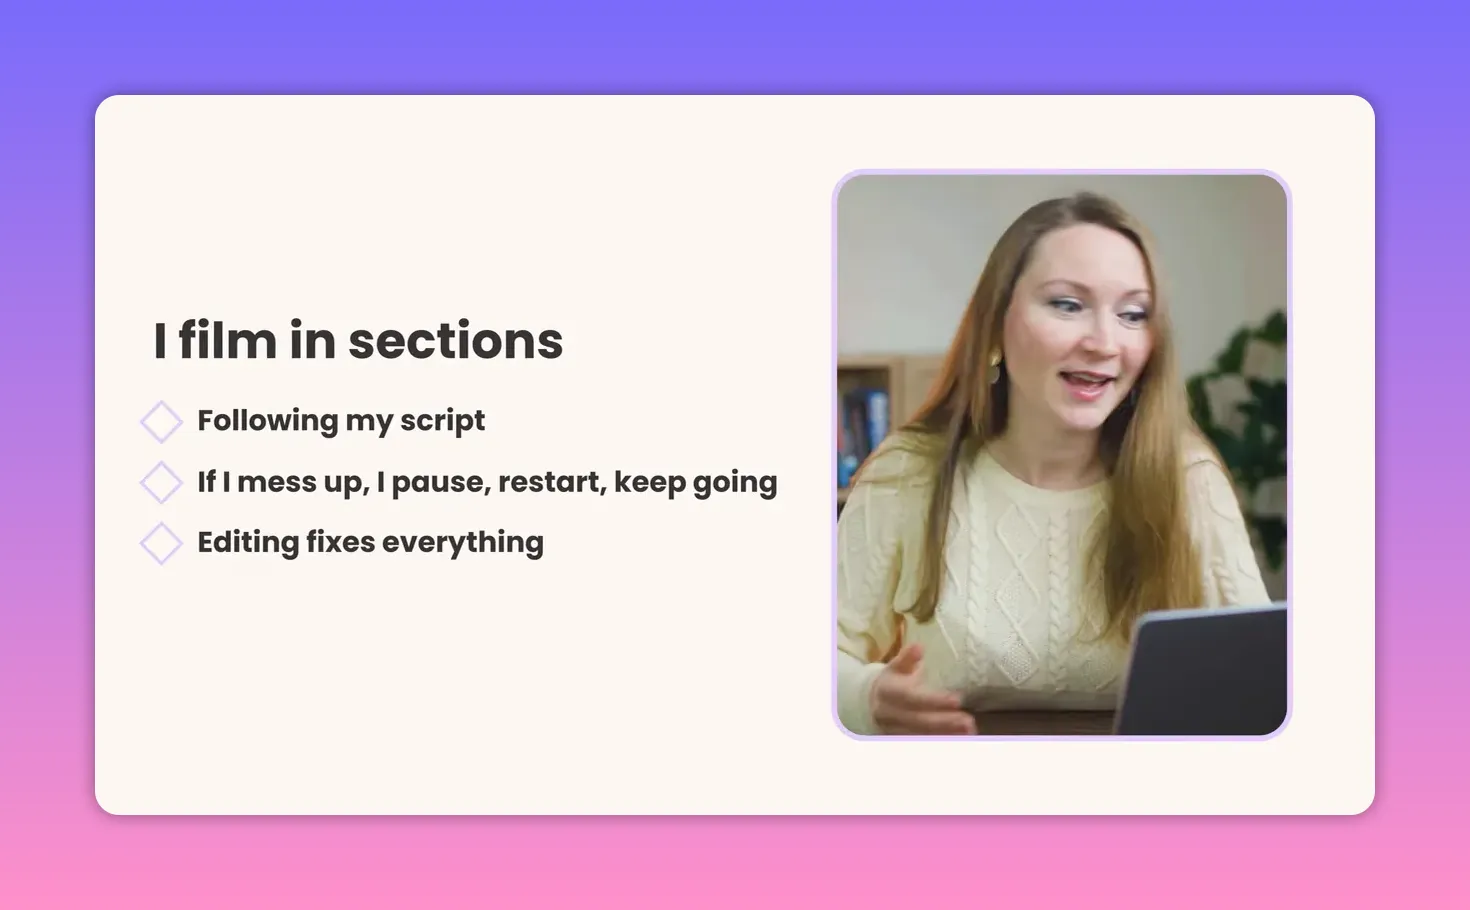
If I stumble on a line, I pause, restart the sentence, and keep going. Assembly is handled in editing, so focus on delivering usable takes, not perfection.
4. Delegate Editing, Keep Creative Control
I upload raw footage to cloud storage and share the script with editing notes. My editor works in Adobe Premiere and delivers the first draft via a review link in a collaboration tool. I give timestamped feedback and we usually finish in two rounds. My review time is about 30 minutes. Outsourcing editing turned out to be a multiplier — my editor often makes the videos better than my own edits.

Key point: your priority is on-camera performance and ideas. Clear notes and a good handoff remove the need to spend ten hours cutting every clip yourself.
5. Fast, Smart Thumbnails
I use either screenshots from the footage or images from a personal thumbnail photo library I keep for this purpose. Thumbnail research takes about 10 minutes: analyze top-performing thumbnails for the topic, identify the elements that make them attention-grabbing, and then give precise instructions to a designer. Do not copy—break down why something works and adapt those elements to your brand.
6. Publishing and Optimization Checklist
Publishing is simple, but small optimizations make a big difference in discoverability and watch time. I follow a checklist every upload:
- Generate 5–10 title variations using an AI assistant and pick a unique, searchable option.
- Ask the AI to create a concise 3–4 line description that includes relevant keywords.
- Use a tag suggestion tool to find the most relevant tags for the topic.
- Select the most appropriate category (I mainly use Education or How-to).
- Upload as a draft and run the platform checks. When all checks show green, make the video unlisted for at least 24 hours so the algorithm can analyze the content.
- Add a template end screen that promotes a best video and select one related video manually for relevance.
- Add 2–3 cards near the end linking to related content to encourage binge watching.
- Schedule publish time based on audience location and analytics; my sweet spot is 2–3 p.m. London time, Monday to Saturday.
7. Post-Publish Strategy: Engagement and Rapid Iteration
Uploading and forgetting is a missed opportunity. The first 24 hours are critical. I actively respond to comments, share the link on social platforms with a strong hook, and sometimes send a short newsletter or post on LinkedIn for business-focused videos. Early engagement signals like comments, likes, and shares tell the platform that the content is valuable.
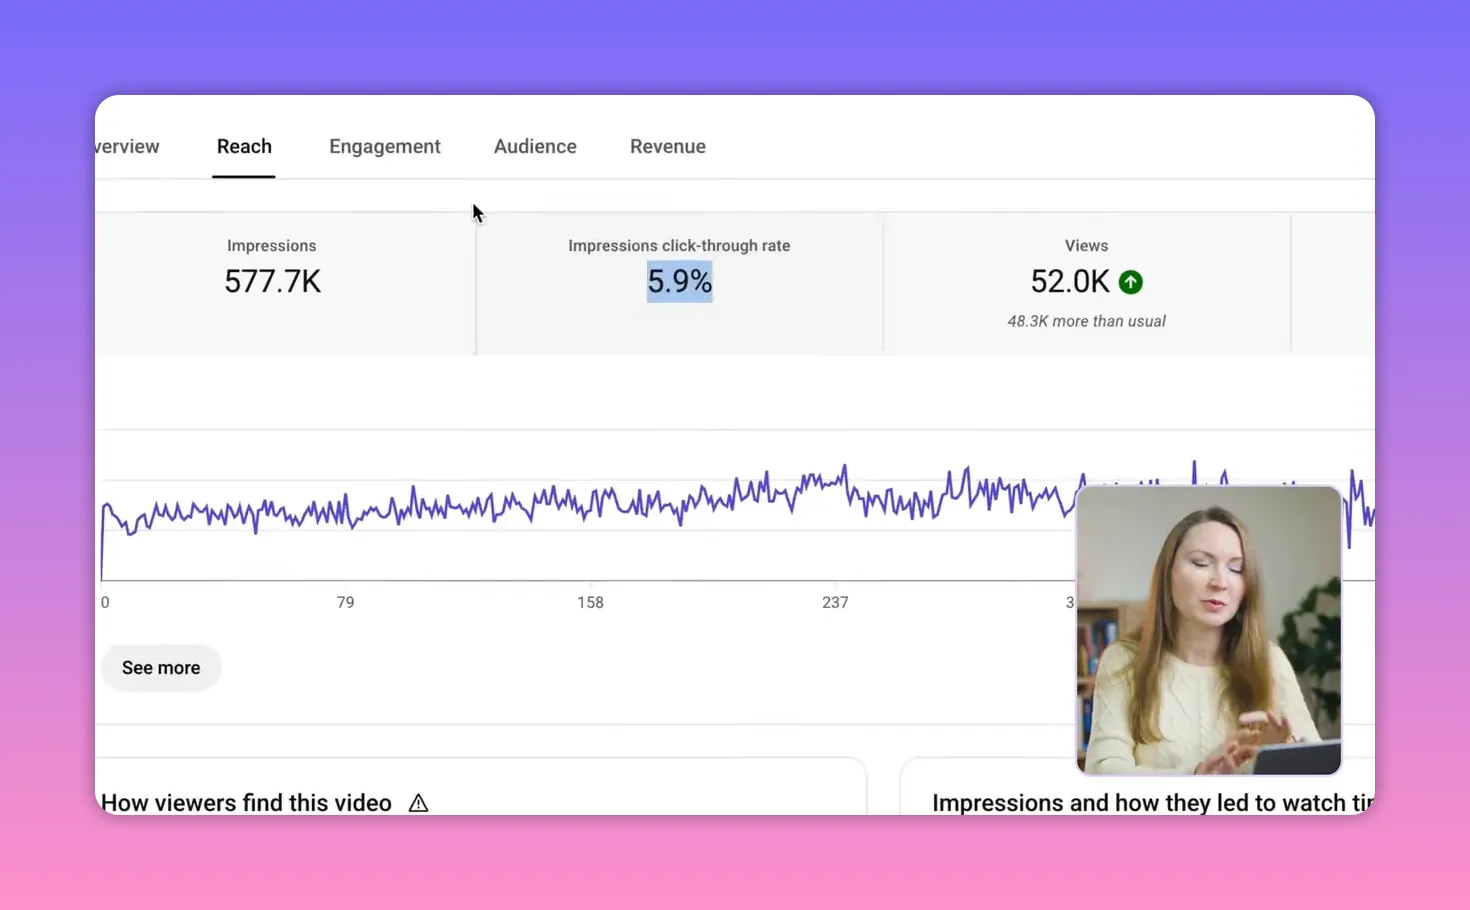
I check analytics at one hour and again at 24 hours. The benchmarks I look at:
- Click-through rate between 4 and 10 percent. If CTR falls below 3 percent, I change the thumbnail.
- Average view duration ideally above 40 percent. If average view duration is under 30 percent, the hook or the first half needs improvement.
- Traffic sources to understand where viewers are coming from and double down on what works.

Every video becomes a data point to drive future decisions. Analyze, learn, and iterate.
Quick Tools and Resources I Rely On
- Script templates + style transfer AI
- Directed AI video tool for B-roll and modifications
- Cloud storage and collaborative review platform for editing
- Tag suggestion tool for metadata
My 4-Hour Production Checklist
- Generate draft script from templates and voice notes — edit for 3–4 hours and add screen instructions.
- Create or modify B-roll using directed AI in draft mode, then upscale the final clips.
- Film short sections from bullet points (20–30 minutes).
- Upload raw files and notes; receive editor first draft in 3 days; review in 30 minutes.
- Briefly research thumbnails and send instructions to designer (10 minutes).
- Upload as draft, run checks, make unlisted for 24 hours, schedule publish time.
- Engage actively during the first 24 hours and monitor analytics to decide on thumbnail swaps or future changes.
Frequently Asked Questions
How much time does each stage take under this workflow?
Total production averages about four hours of focused creator time: 3–4 hours on script editing and prep, 20–30 minutes filming, and about 30 minutes reviewing the edited video. B-roll and editing turnaround are offloaded or handled asynchronously with AI and an editor.
Can I start with just a phone and still use this workflow?
Yes. A phone with a good external microphone and decent lighting is perfectly fine. The workflow focuses on structure and delegation; gear matters less than clarity of script, audio quality, and consistent post-publish engagement.
What metrics should I watch in the first 24 hours?
Monitor click-through rate (aim for 4–10 percent), average view duration (aim above 40 percent), and traffic sources. Low CTR often means a thumbnail swap; low average view duration signals a weak hook or slow first half.
How do I manage thumbnails without a designer?
Build a small library of thumbnail-ready photos, analyze high-performing thumbnails for composition and color, and apply those learnings. If you do use a designer, provide clear benchmark thumbnails and explicit instructions instead of vague requests.
Is directed AI-generated B-roll reliable for professional videos?
Yes, when you can control specific elements and preserve continuity. Start in draft mode to iterate quickly, then finalize with an upscale pass for 4K-quality output. Directed modification is the key to predictable, usable results.
Final Thought
Consistency beats perfection. Build a repeatable system that uses AI for repetitive heavy lifting, keep the creative work where it matters, and use analytics to constantly improve. Implementing even one part of this workflow can save hours every week and make regular publishing realistic without burning out.