

I grew up in Menzel, a small town in Morocco, with a degree in law and very little of what people might call an arty background. For three years I practised law, then life took me to the United Kingdom and into a workshop I would come to call home. I did not arrive with printing skills or a wardrobe of textile techniques. What I learned I learned shoulder to shoulder with Steve, over long days and long projects. Twelve years later, the work we make together wears stories on its surface.
From Law to Loom: an Unlikely Path into Textile Art
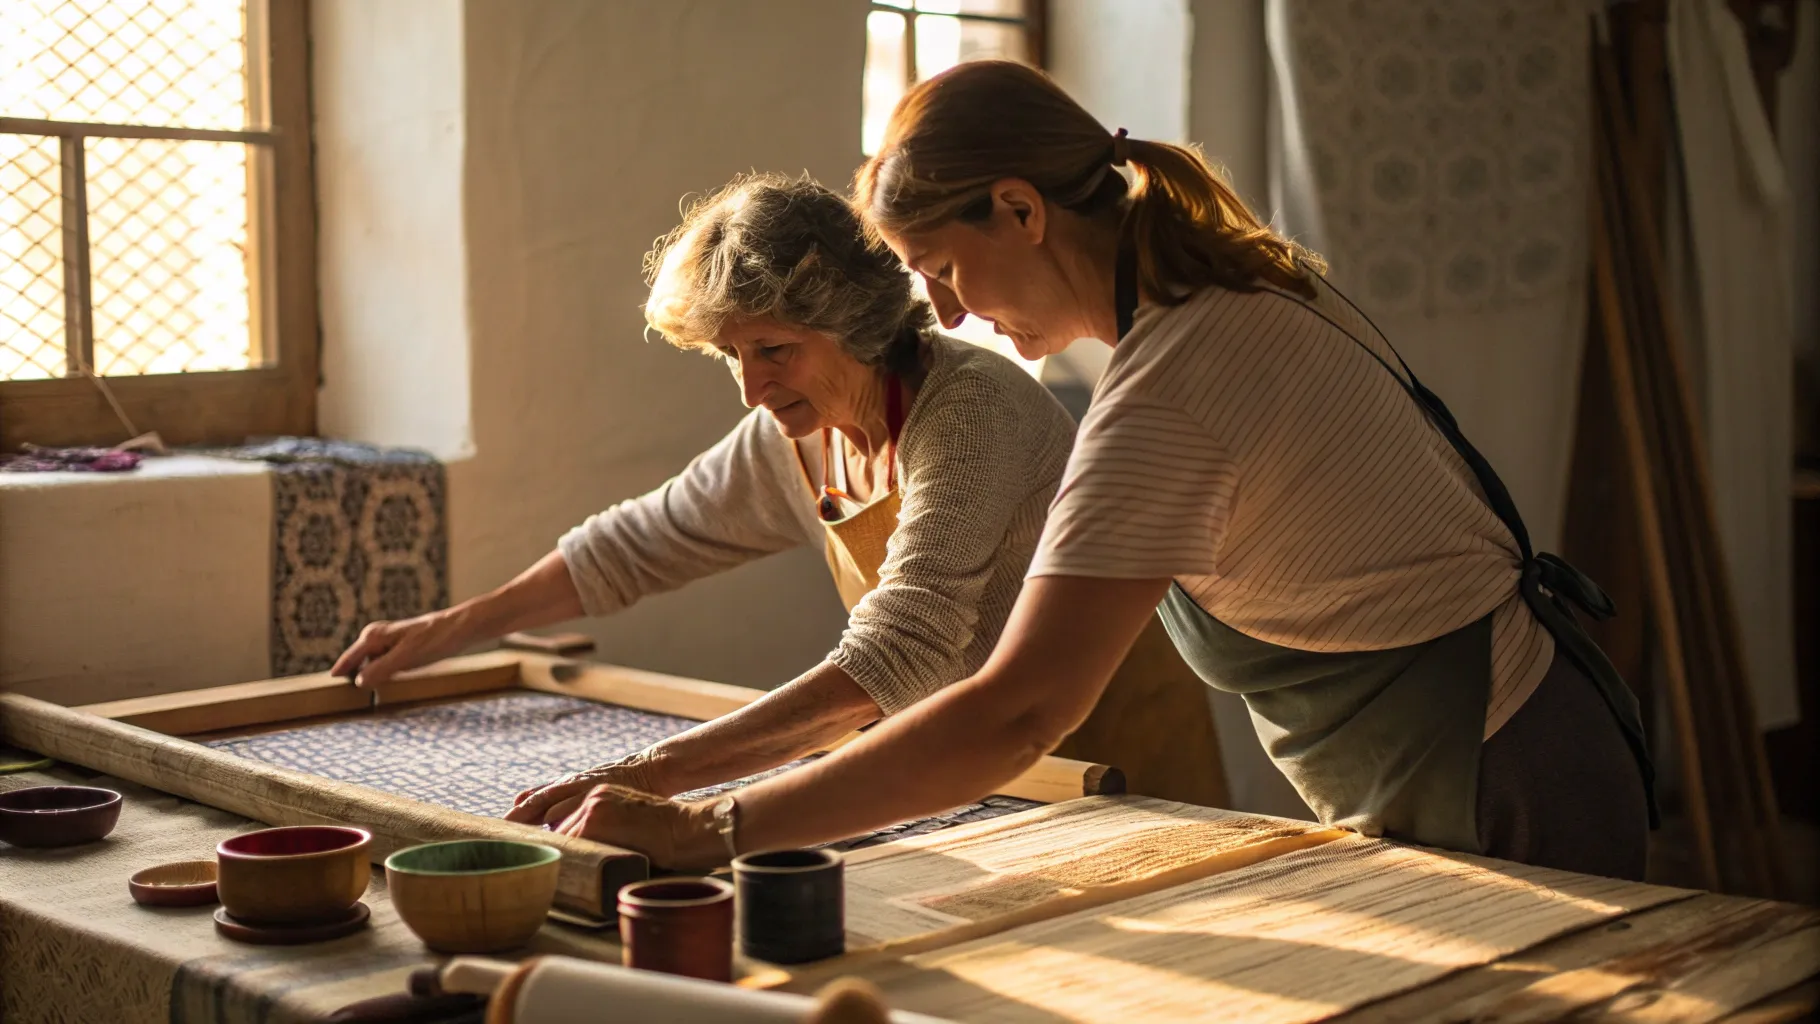
Changing careers is often framed as dramatic: one moment you are a lawyer, the next a textile artist. The reality is quieter and more stubborn. I arrived in the workshop with curiosity and the willingness to be taught. Most of what I know now I owe to years of repetition, patience, and someone who trusted me enough to teach.
That trust matters. Textile work for film sits at the intersection of craft, theatre, and technical problem solving. It asks for aesthetic judgement and practical solutions. A law degree trained me to think methodically. Those same skills transfer surprisingly well when planning a complex costume: attention to detail, managing constraints, and working within strict deadlines.
Learning to print fabric, to layer dyes, to distress and finish a garment so that it reads correctly under camera and stage lights—all of that came from practice. My path shows two things clearly:
- Transferable skills matter. Analytical thinking, communication, and discipline are useful across fields.
- Apprenticeship accelerates mastery. Being in the room, hands on the fabric, observing and repeating is how knowledge became instinct.
The Workroom as Family
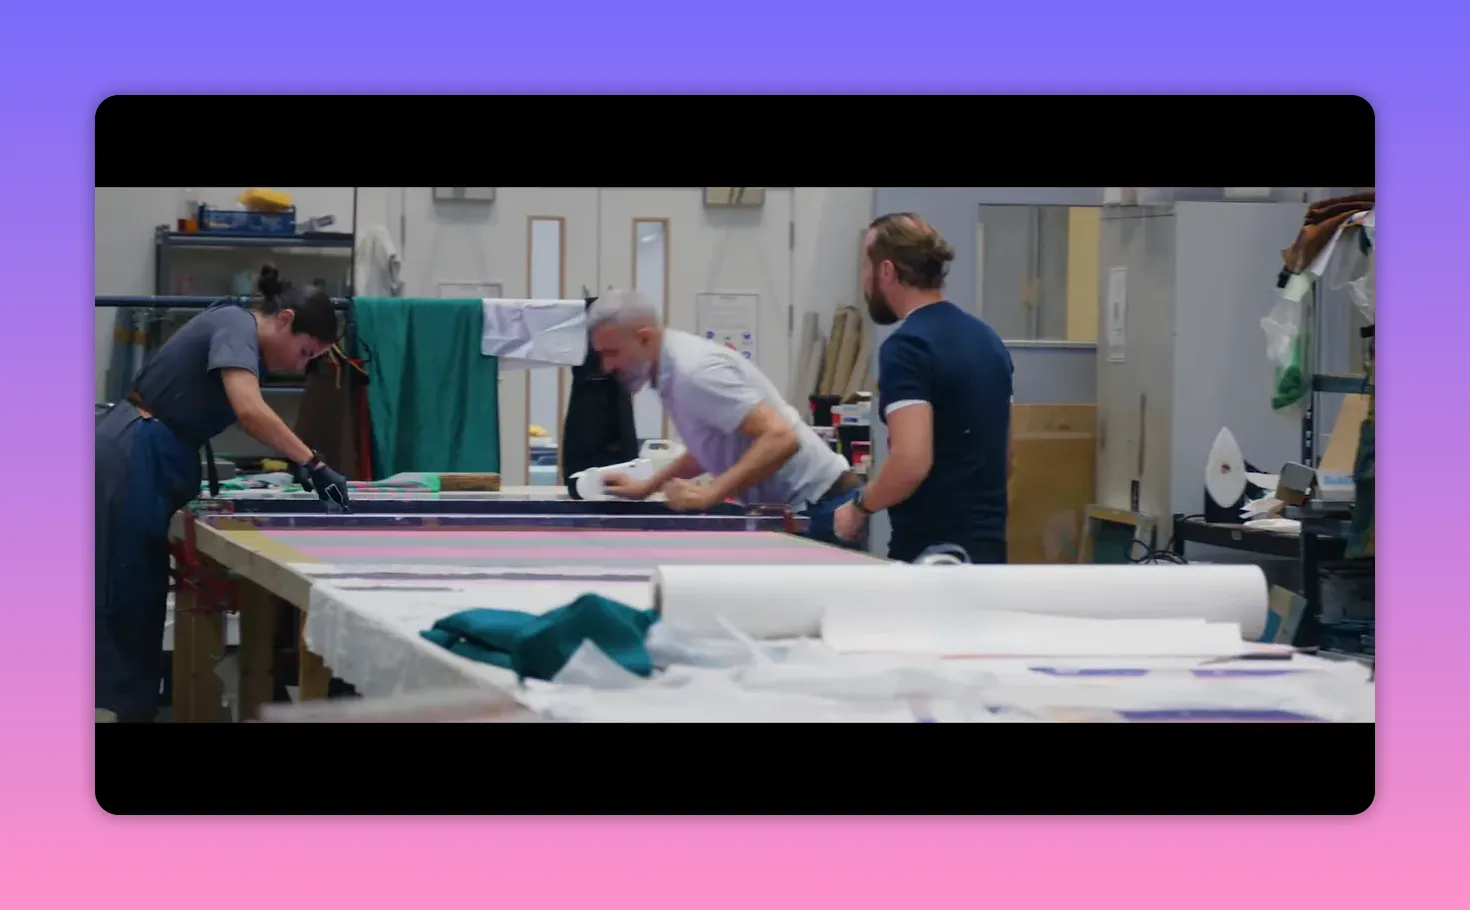
Working in film is exhausting. It is physically demanding, emotionally testing, and unforgiving of small errors. Under those conditions, an isolated craftsman will struggle. What sustains the work is not only technical skill but loyalty and mutual care.
We cultivate an atmosphere that feels like family. That does not mean everything is easy. It means we share responsibility, cover each other during long shifts, and accept that sometimes things go wrong—but that nobody will be left to fix them alone. This is the environment where risk taking is possible and where subtle, brave decisions are made. The goal is simple: create the best atmosphere to do the best work.
How a small team becomes resilient
- Clear roles so everyone knows what they are accountable for.
- Open communication so if something fails, we adapt together.
- Humour and patience to survive long hours and tight deadlines.
- Shared pride in the finished piece, which strengthens bond and raises standards.
Crafting Elphaba’s Cape: Design, Distress, and Drama

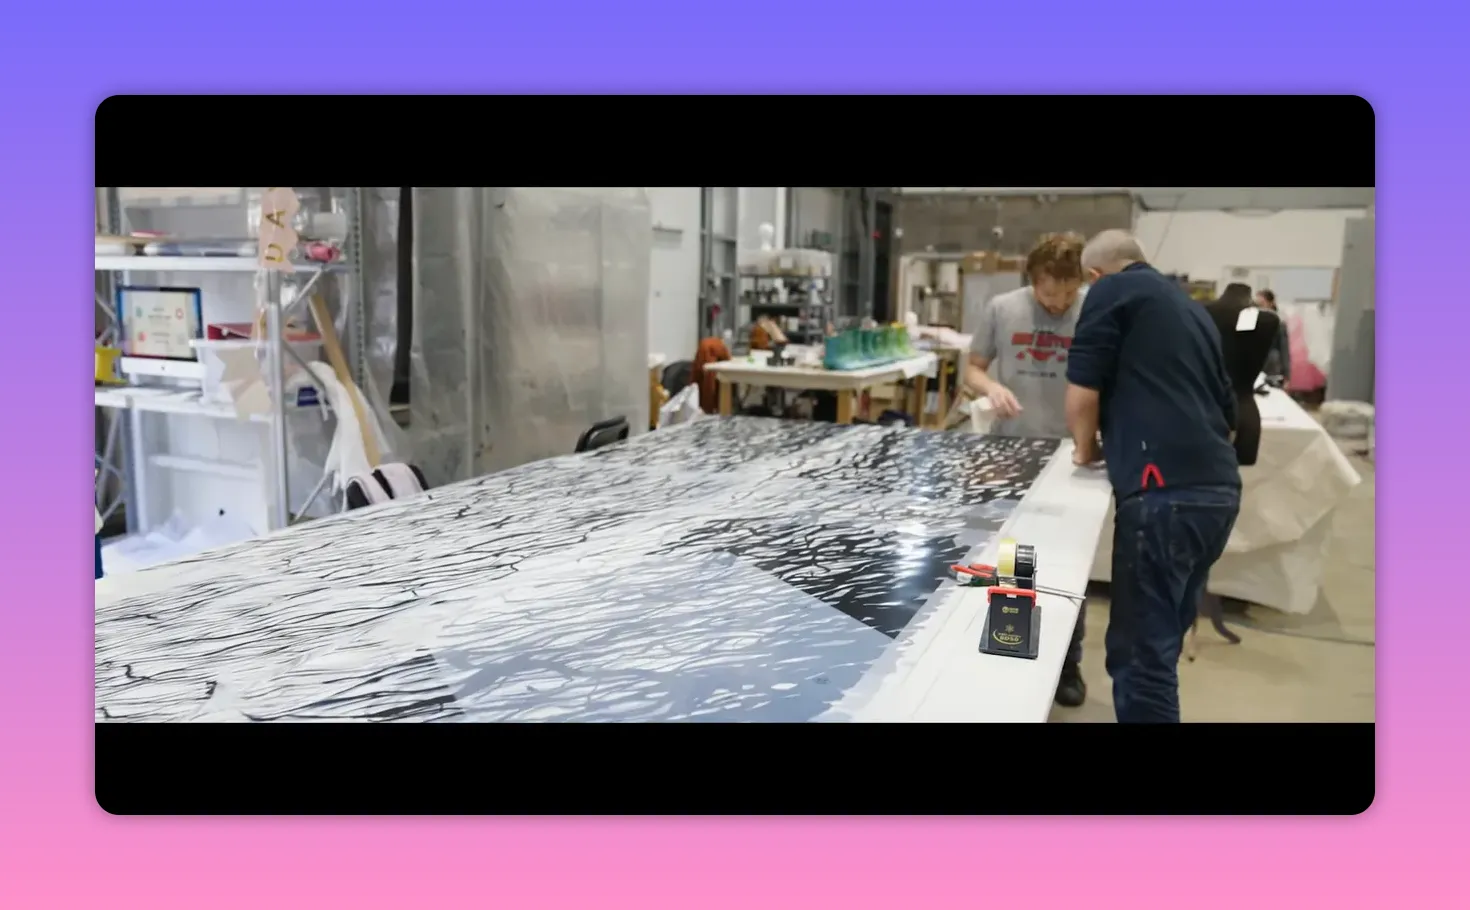
One garment can carry the emotional weight of a character. The cape we built for Elphaba needed to be instantly recognisable, durable for filming and performance, and full of narrative detail. It needed to look like something that had been through storms and history without ever appearing thrown together.

At the heart of that effect is controlled destruction. We designed a cape that would be progressively altered: “It will be burned away further and further and further and those ends will get ripped up and other fabrics will come out from behind.” That single sentence captures a layered approach to storytelling through textiles.
Rather than making a cape distressed from the outset, we planned for its evolution. The cape has a primary layer that reads as whole and iconic. Beneath that live other fabrics, colours, and textures that reveal themselves as the top layer is purposefully frayed, singed, or torn. As the cape is changed on stage or during action sequences, those inner layers become part of the story.
Key principles behind the design
- Layering: Multiple fabrics give depth, movement, and surprise.
- Controlled distress: Burn marks, tears, and abrasions are applied where they will be visible but not compromise safety or wearability.
- Continuity planning: Each altered state of the cape must be reproducible across takes and performances.
- Textural contrast: Inner fabrics are selected to contrast in sheen, weave, or colour so they read through the damaged outer layer.
Why burning and ripping are more careful than they sound
Destruction for effect is a skill. An uncontrolled scorch can weaken the seam, make a tear propagate unpredictably, or create sharp edges. We test on spare panels first, learning how a particular fibre reacts to flame, friction, and tension. We then standardise the method so that the effect can be repeated safely.
Practical steps we follow include pre-sealing edges to avoid dangerous fraying, reinforcing load-bearing seams, and choosing fibres that will singe rather than disintegrate. The burn marks are applied in layers, each pass adjusted until the colour and texture read correctly under stage lighting.
Techniques Explained: From Fabric Choice to Final Finish
Breaking down the cape process into discrete techniques helps anyone trying to replicate similar storytelling in textiles. Here are the stages that matter most.
1. Fabric selection
- Weight and drape determine how the cape moves. A heavier wool will billow differently from a light silk.
- Reaction to treatment is critical. Some synthetics melt under flame. Natural fibres can scorch and fray attractively.
- Colourfastness ensures the costume survives repeated washes or exposure to stage conditions without unwanted fading.
2. Printing and surface design
Surface print is not just pattern. It is an additional layer of storytelling that suggests wear, history, or mystical qualities. I did not arrive knowing this craft. “I didn’t know any printing or anything else. What I know now is because of him.” Training in printing involves dye chemistry, register alignment, and understanding how inks interact with weave and finishing treatments.
3. Layering and lining
Underlayers are chosen to peek through once the outer layer is altered. Sometimes the inner fabric is a bright contrast; other times it has a pattern intended to be glimpsed in movement. Linings can also be structural, distributing tension so the outer fabric can be distressed without failing completely.
4. Distress techniques
- Controlled flame to singe edges and create charred gradients.
- Mechanical abrasion with sandpaper or wire brushes to thin weave in selected areas.
- Hand tearing to produce organic tear lines that follow the fabric grain.
- Heat setting to stabilise any thermoplastic components and prevent future melting.
5. Finishing and testing

Every cape is put through movement tests, lighting checks, and repeatability trials. We photograph under the same lights used for filming, check how textures read at a distance, and run performers through sequences to test durability.
Training and Mentorship: From Trainee to Senior
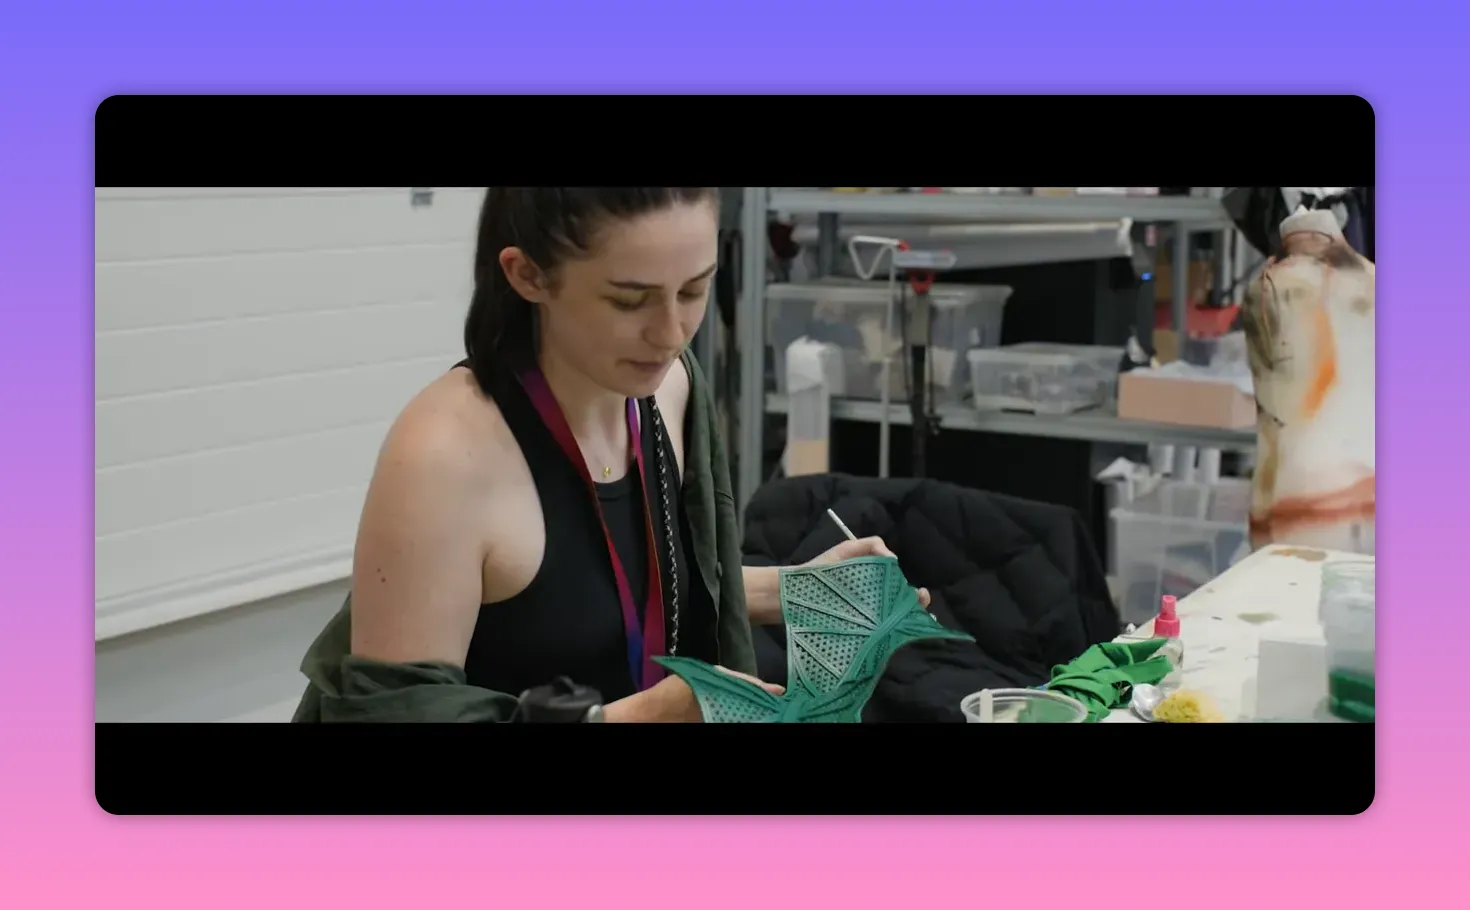
Apprenticeship is a deliberate route in the workshop. A trainee like Antonella prefers the workroom because it is “more creative” and “really familylike.” Those words say two things about training: the environment must encourage creative risk and it must feel safe.
Training is not merely about passing down technique. It is about transmitting judgement: where to place a scorch, how much tear reads as authentic but still safe, and when a visual choice supports a character instead of distracting from performance. That judgement develops through exposure to many projects and through feedback from designers, directors, and performers.
Elements of a successful mentorship
- Direct oversight from an experienced practitioner who will demonstrate and correct.
- Incremental responsibility so a trainee moves from making samples to owning pieces.
- Creative freedom within agreed boundaries, encouraging experimentation.
- Shared language for describing problems and solutions, which speeds collaboration.
When trainees are welcomed into a workshop culture that treats mistakes as learning, they grow into artists who can make decisive, confident interventions.
The Emotional Labor of Making for Film
Textiles in film are not just materials. They are collaborators. The work is often done under time pressure, with emotional intensity. “Working in film is really difficult and it’s hard on your system,” I say because it is true. That pressure can sharpen creativity or it can fracture teams.
To make the work sustainable we prioritise wellbeing in small but meaningful ways: regular breaks during long builds, rotating people through tasks to reduce repetitive strain, and keeping channels open for when someone needs support. The emotional resilience of a workshop directly impacts the quality of the finished garment.
Practical ways to look after a team
- Plan shifts to allow sufficient rest between long days.
- Share the load on high-stress days by bringing in temporary hands when needed.
- Encourage short debriefs after complex builds so lessons are recorded and stress is released.
- Invest in proper tools and ergonomics to reduce physical strain.
Case Study: Building a Cape that Tells a Story
Here is a step-by-step example of how we would approach a cape intended to change during performance, inspired by our Elphaba build.
Step 1: Concept and reference
Start with a clear brief: what does the cape need to communicate at the start, and how should that message evolve? Gather references for texture, movement, and historical context. Sketch variations and agree on a colour story. The cape must be readable in silhouette and up close.
Step 2: Prototype the silhouette

Draft a basic pattern and sew a muslin mock-up. This allows you to assess how the length, fullness, and collar behave. Test how the garment sits on the performer and how it responds to common movements like quick turns and lifts.
Step 3: Select primary and inner fabrics
Choose an outer fabric that will take surface treatment well. For inner layers, select fabrics that create contrast when revealed. Consider how each fabric holds up to heat and abrasion.
Step 4: Print and surface work
Apply any printing or painted detail to the outer layer before assembly. Print placement is planned around seams and stress points so the visual effect is uninterrupted when the garment moves.
Step 5: Build in sacrifice areas
Designate sections that will be intentionally weakened for dramatic effect. Reinforce adjacent areas with hidden patches or support tapes so the garment retains its overall shape and safety after the sacrifice areas are altered.
Step 6: Controlled distress
Apply flame, abrasion, and tearing in a layered approach. Test each method on swatches. Decide the sequence so that later treatments do not undo earlier ones.
Step 7: Fit, rehearse, and revise
Fit the performer and run movement tests. Watch how the inner fabrics appear as the outer layer is altered. Note any safety concerns, unpredictability in tear paths, or colour shifts under lights. Revise details and document the steps so the effect can be repeated.
Step 8: Continuity and spares
Create multiple capes or spare panels to ensure continuity across takes. Document exactly where each mark and tear is made. Photographic records and notes are essential for recreating the effect.
Materials and tools checklist
- Various fabric weights: wool, cotton, linen, silk, and select synthetics
- Printing screens, inks, and dyes
- Flame tools and safety equipment for controlled singeing
- Abrasion tools: sandpaper, wire brushes, and sanding blocks
- Reinforcement materials: tapes, hidden patches, interfacing
- Capturing tools: camera for continuity, lighting for testing
Small Choices, Big Effects
Often the magic comes from tiny decisions. A burn mark placed near a seam can catch light differently and suggest a life of wear. A lining with a subtle stripe can, when glimpsed, hint at character history without any dialogue. The work is an accumulation of micro-choices cohering into a readable object.

The aim is always clarity. The garment must tell its story quickly and consistently, even when seen from different distances or in different lighting conditions. That is why early photographic testing under performance lighting is non-negotiable.
How to Start If You Want to Make Costumes for Film
Many who come to this field did not plan it. Some arrive from other crafts, others from unrelated careers. The entry points are varied, but a few practical steps will accelerate progress.
- Learn the basics of fabric behaviour, sewing, and surface techniques like printing and dyeing.
- Apprentice or assist in a theatre or film wardrobe department to get exposure to the pace and constraints of production environments.
- Build a portfolio with process work: sketch, swatches, samples, and finished pieces. Document how your pieces change under treatment.
- Network respectfully with designers, costume supervisors, and established textile artists. Offer to help on small projects to gain credibility.
- Stay available and adaptable. Film work can mean irregular hours and fast turnarounds; flexibility is a key asset.
Voices from the Workroom
Destiny guides you where destiny wants really. We don’t control it. We follow it.
That sentiment comes from a place of humility and gratitude. Many of us did not map out this career in advance. We followed opportunities, learned from mentors, and trusted the process. That willingness to be guided often opens doors to projects that demand every skill you have and teach you many more.
Another piece of the workroom character is a kind of affectionate role play. I am often teased as the “eldest annoying brother”—a way of saying that the dynamic is familial, messy, and full of warmth. That tone keeps the workshop human through fatigue and deadlines.
Frequently Asked Questions
What materials are best for creating a cape that needs to be distressed but remain durable?
Natural fibres such as wool and cotton tend to respond well to controlled distressing. Wool offers weight and drama while cotton is easier to manipulate and print on. Choose outer fabrics that singe rather than melt and select inner layers for contrast. Reinforce structural seams with tapes or hidden patches so distressing does not compromise wearability.
How do you distress fabric safely without weakening the entire garment?
Always test treatments on swatches first to learn how a fibre reacts. Use controlled flame techniques and stop when you achieve the visual effect without compromising surrounding weave. Reinforce areas that will bear load with interfacing or patches. Plan “sacrifice areas” where the garment can be altered while adjacent zones remain strong.
Is prior experience essential, or can someone transition from an unrelated field?
Prior experience helps but it is not essential. Transferable skills like discipline, attention to detail, and the capacity to learn quickly are valuable. Apprenticeships and assisting in a wardrobe department accelerate skill acquisition far more than theoretical study alone.
How long does it take to become proficient in fabric printing and distress techniques?
Proficiency varies with intensity of practice. Basic competence in printing can be acquired in months with regular practice. Mastery—understanding how different fibres, inks, and finishes interact—typically requires years of hands-on work and exposure to many projects.
What tools are essential for textile work in film and theatre?
Essential tools include industrial sewing machines, printing screens and inks, heat tools for setting, abrasion tools like sandpaper and wire brushes, and safety equipment for controlled singeing. Documentation tools—camera, consistent lighting—are also essential for continuity.
How do you ensure a distressed effect is reproducible across takes and performances?
Document every step with photographs and written notes. Create spares or partial spares, and standardise the method for each distress treatment. Where possible, design mechanical or removable elements that can be applied consistently between takes.
What is the best way to find mentors in this field?
Volunteer to assist on theatre productions, short films, or student projects. Build relationships through consistent support rather than approaching only when you need a job. Attend industry events, workshops, and courses where established practitioners teach and demonstrate techniques.
Final Thoughts
Textile work for film is a craft of collaboration and storytelling. Each decision about fabric, colour, or texture is a narrative choice. When a cape catches light just so, or when a tear reveals a hidden lining at a critical moment, the costume has done its job: it has added dimension to a character without a single word.
My journey from law to the workroom taught me that careers are not one-way streets. With mentorship, curiosity, and the right working culture, anyone willing to learn can become a keeper of stories in cloth. The workshop remains a place where skill is shared, mistakes become lessons, and small teams stitch together the spectacular.


